Friday, April 23, 2010

Chive and Bacon Damper

This damper is fantastic with a simple tomato soup.  However I made a simple chive damper without the bacon and the cheese to go with my Slow Cooker Minestrone Soup.  You can add what ever fresh herbs you like to this recipe or have it totally plain with a little butter and golden syrup drizzled over top.  It's very quick and easy to make.


Chive and Bacon Damper

2  bacon rashers fat trimmed off and chopped finely
2  cups flour
4  teaspoons baking powder
30g butter
1/2 cup grated cheddar cheese (tasty or colby)
2 tblsp finely chopped fresh chives (spring onions or ordinary onions)
1/2 cup milk
1/2 cup water

Cook bacon in pan until crisp then put on paper towel to drain.  Put flour in bowl add baking powder and rub in butter, add cheese, chives and bacon.  Add milk and enough water to mix to a soft sticky dough.  Turn dough onto floured surface, knead until smooth.  Shape dough into a long loaf shape (to make sure the centre cooks); place on flat tray lined with baking paper.  Mark a few cuts into the dough so it opens out a little while cooking and brush with a little extra milk.  Bake in moderately hot oven 190-200°C/375-400°F for approx. 25-35 mins.  Serve with butter and tomato soup.


Slow Cooker Minestrone Soup

I have found this soup, and the way it's cooked, to be a life and time saver.  No more standing over the stove stirring in case the bottom of the pot is burning.  All you need is time to prepare and chop the vegetables.  I really didn't time how long I cooked it.  I put it in the pot at about 10am gave it a stir and turned it down to low at about 1pm and added the pasta one hour before serving which was around 6pm.  That's about it.  It doesn't require oil and if you wanted some of your vegies to be a little crisper like green beans and capsicum, save them till last before putting in the pot, it gives a little crunchy texture.  Enjoy!!  This one's for you Kim.


Slow Cooker Minestrone Soup


2 carrots diced
1 red onion diced
3 sticks celery diced
1 zucchini diced
2 potato's diced
1 red capsicum (red pepper) diced
a handful of green beans chopped
5 rashers short cut bacon (without the fatty ends)
2 cloves garlic crushed
1 800g tin chopped roma tomatoes
1 750g tin 4 bean mix (drained and rinsed)
4 teaspoons chicken stock powder
5 cups warm water
1 cup small shaped pasta
salt and pepper for seasoning


Add all chopped ingredients and garlic to the slow cooker pot with the cooker turned on to high.


Add stock dissolved in the warm water, add tinned tomatoes and drained and rinsed tin of beans, give a bit of a stir.


After two hours give another stir and turn down to low.  One hour before serving taste and season with salt and pepper if desired and add pasta.  You may need to add a little more boiling water at this point as the pasta soaks up a lot.  I baked a chive damper to go with this very hearty soup but a crusty loaf of bread works just as well.


Friday, March 19, 2010

Chocolate Fudge Brownies

 A fantastic Friday afternoon treat, that will hopefully last the weekend through.


Chocolate Fudge Brownies

200g dark cooking chocolate
250g butter
4 eggs
2 cups sugar
1 tbsp vanilla
1/2 cup plain flour

Preheat oven to 150°C/300°F.  Line a rectangular baking pan with baking paper.

In a saucepan gently melt the chocolate and butter, stirring over a low heat until all blended and smooth.

In a large bowl beat eggs for about 4 minutes until they are a light yellow colour.  Add sugar continue to mix until all combined.  Add vanilla, melted chocolate and butter, mix until smooth.  Add flour and mix until combined.

Pour batter into the lined baking pan.  Bake in a slow oven for approx 45-55 minutes.  The brownies should develop a light crust on top but should be moist in the middle.  Best not to over cook.


Are most delicious served warm with your favourite vanilla ice cream.

Saturday, February 6, 2010

Rice Bubble Date Slice

My friend Yvonne (whom I made the Caramel Mud Cake for) makes this slice for her kids birthdays and I just love it.  I finally found the recipe and made it myself.  Now if you're giving this to your kids don't tell them there are dates in it...that is until after they've eaten it and told you how much they love it.  I was never fond of dates on their own but in this you hardly know they're there.  This slice has a lovely caramel flavour to it.  Great for kids parties or an afternoon snack.


Rice Bubble Date Slice

4 cups rice bubbles
125g butter, chopped
1 cup caster sugar
250g packet dates chopped finely
¼ cup condensed milk

Lightly grease an 18 x 28cm slice pan. Line base and sides with baking paper.  Place rice bubbles in a large bowl.

Melt butter in a medium saucepan on low. Add the sugar, dates and condensed milk. Stir for 10-15 minutes until dates soften and fall apart.  Remove from heat.


Add mixture to rice bubbles, stirring until well combined.


Spoon into prepared pan, pressing firmly. 


Chill for 2-3 hours until firm. Cut slice into squares to serve.


For a little decadence melt a little milk chocolate and pour a thin layer over top of slice before cutting then refrigerate.

Wednesday, January 6, 2010

Potato and Onion Tortilla

I found this recipe in another of my sisters cookbooks that she passed onto me.  It comes from "Mediterranean: a taste of the sun in over 150 recipes" by Jacqueline Clark and Joanna Farrow and they tell me that this is one of the signature dishes of Spain.  It is a perfect summer dish, my kids loved it and it's pretty easy to make.  You just need a large frying pan and a plate or pizza tray to match the size of the pan for flipping the tortilla over.  It's one of those dishes that is filling and just needs a little salad or vegies on the side to accompany it.


Potato and Onion Tortilla

1 1/2 cups olive oil
6 large potatoes sliced
2 Spanish onions sliced
6 eggs
salt and pepper


Heat the oil in a large pan.  Stir in the potato, onion and a little salt.  Cover and cook gently for 20 minutes, until soft.Beat the eggs in a large bowl.  Remove the onion and potato from the pan with a slotted spoon and add to the eggs.


Season with salt and pepper to taste.  Pour off some of the oil, leaving about 4 tablespoons in the pan.  (Reserve leftover oil for other cooking.)  Heat the pan again.  When the oil is very hot, pour in the egg mixture.  Cook for 2-3 minutes. 


Cover the pan with a plate or pizza tray and invert the omelet onto it.  I had the temperature up a little too high so it stuck to the pan, so I turned it down and the second side cooked and slid out beautifully.


Slide it back into the pan


and cook for 5 more minutes, until golden brown and moist in the middle.


I served it in wedges with some cooked silver beet and pine nuts and some grape tomatoes.


Sunday, December 13, 2009

Christmas Chocolate Star Cookies

I bake these cookies a few weeks before Christmas every year, decorate them and give them away for little gifts.  It's my thing.  I don't like buying presents for acquaintances but I do love to bake and give something home made with love.  Stacked up on top of each other wrapped in clear cellophane tied with a festive ribbon, these cookies make a lovely little gift.


The cookies are just the right size to pop into your mouth without anybody noticing.  I make a chocolate batch accompanied by a vanilla batch.  My boys and husband are often very disappointed that we give most of them away, not this time, I made two double batches to make sure there was enough to go around and some left over.  The recipe is based on Mrs Fields, Snowy White Chocolate Crescents, I just shape them a little differently.


Christmas Chocolate Star Cookies

1 1/2 cups plain flour
1/3 cup cocoa
1/2 cup salted butter, softened
1 cup white sugar
1 tsp vanilla extract
1 large egg

Decorations

White chocolate for melting
icing sugar for dusting

Preheat oven to 160°C/325°F.  Combine flour and cocoa in a bowl, mix well, put aside.  In a medium bowl cream butter and sugar with an electric mixer on medium speed.  Add vanilla and egg, and beat until light and smooth.


Scrape down sides of bowl, then add flour and cocoa mixture.


Blend on a low speed until fully incorporated.  The dough will be moist and crumbly but kneads together well.  Grab a handful of dough and roll into a ball.  Sprinkle flour on your working surface and roll out dough, lightly flouring the rolling pin so it doesn't stick.  Roll out to what ever thickness you desire, remember the thinner they are the more crispy they will be or the thicker, the more moist they will be. 


Cut out your star shapes.  When cutting out large stars I used my BBQ mate (flat metal spatula) to slide in and lift up the star so it didn't tear while transferring to the lined baking tray.  The little stars were easy to pick up and pop out of the cookie cutter.

Reserve a little dough for blending and kneading with your left over bits after cutting out the stars.  Otherwise the dough gets a little too dry and crumbly towards the end if you keep kneading it with the flour.


Bake in the oven for 12 minutes.  Let cool completely before decorating.


Decorating:

I melt a handful of white chocolate buds and use it in a piping bag with a small, plain nib and swirl patterns across each cookie.


If that seems like too much then dusting with icing sugar works beautifully too.


Note:  If you want to make vanilla star cookies just substitute flour with the cocoa.


Sunday, December 6, 2009

Orange poppy seed roasted vegetable salad

This is my special occasion roast veggie salad and it comes from my Family Circle Fabulous Salads book. I make it for Christmas or big family get togethers. This one I made for my church's Relief Society Christmas dinner and it didn't last very long before it was all gone. It can be served straight from the oven or as a warm salad a few hours out of the oven. Just don't put the Brie on top until you're ready to serve. It is just a beautiful salad for any time of the year.


Orange Poppy Seed Roasted Vegetable Salad

6 small potatoes quartered (I don't even peel them)
(hint: chop all of the veggies about the same size, but not too big)
2 parsnips peeled and chopped in chunks
1/2 of a large orange sweet potato chopped
1/4 jap pumpkin chopped
2 carrots peeled and chopped
4 small brown onions quartered
3 cloves of garlic peeled and halved
1/3 cup extra virgin olive oil
salt
2 tablespoons poppy seeds
200g triple cream Brie thinly sliced

Orange dressing

1/2 cup orange juice
2 cloves of garlic
1 tablespoon grainy mustard
1 teaspoon white wine vinegar
1 teaspoon sesame oil

Preheat oven 200°C/400°F. Place all of the chopped veggies and garlic in a bowl toss in oil, salt and then spread over a large lined baking tray.


I used two trays to spread the veggies over. Bake in oven for 50 mins to an hour. Check after the first 20 mins, toss then sprinkle with poppy seeds and put back in the oven for another 20 mins and check again after that and give another toss to bake evenly.


To make the dressing whisk the ingredients in a small jug or jar to combine.


When veggies are done transfer to a large bowl, pour the dressing over the warm veggies and toss to coat, you may not need all of the dressing. Be gentle or the veggies will squish.


Then top with the slices of Brie. Watch the Brie melt ever so slowly over the veggies and then serve and enjoy!!

Friday, November 27, 2009

Caramel Mud Cake with Caramel Icing

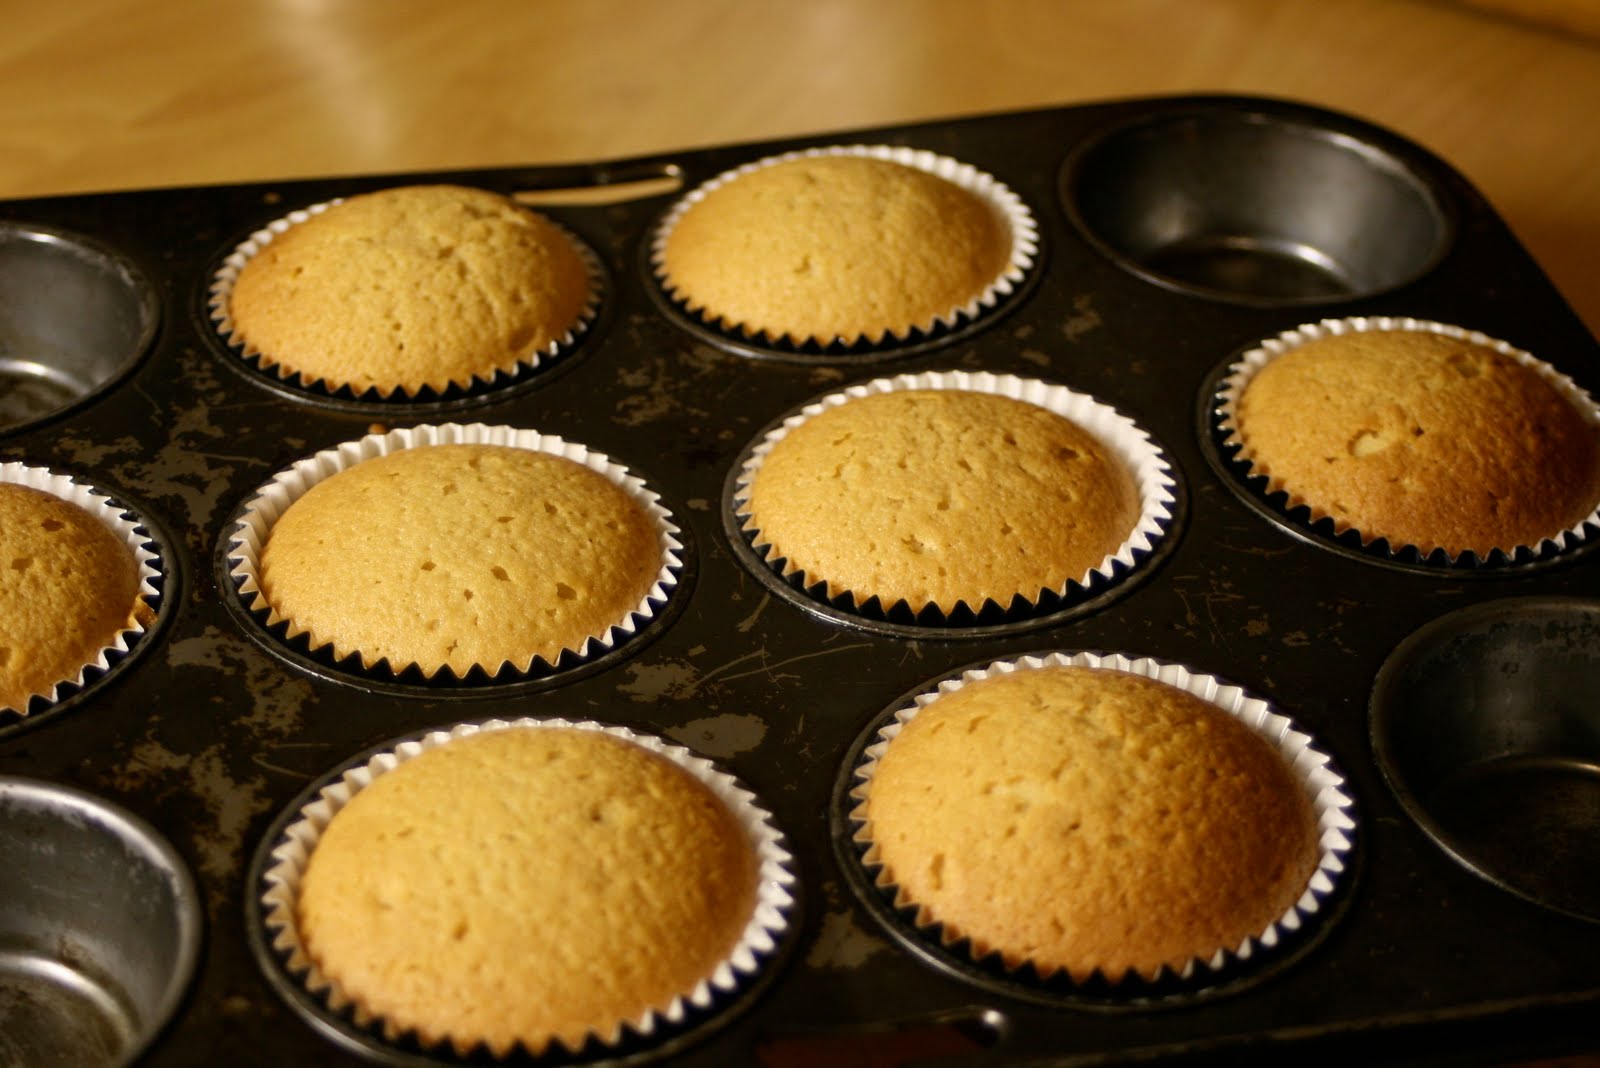
It was my friend Yvonne's birthday last week. She and I both have 3 boys of the same age, who all started pre-school together and have been going to play group together too. So what do you get a super mum for her birthday....well, I never know...so I bake. I baked a heart shaped caramel mud cake with caramel icing and decorated with piped white chocolate flowers. I had some mixture left over so I also made some mud cup cakes too! It was so easy, you just need to allow for a bit of time for the slow baking and the cooling down of the cake before icing. Enjoy!

Caramel mud cake

Melted butter, to grease
200g butter, cubed
200g white chocolate, chopped
200g (1 cup, firmly packed) dark brown sugar
180ml (3/4 cup) hot water
1 tbs golden syrup
2 tsp vanilla essence
2 eggs, at room temperature
150g (1 cup) plain flour
150g (1 cup) self-raising flour (or plain flour with 2 tsp baking powder)
Icing sugar, to dust (optional or see caramel icing recipe below)

Preheat oven to 160°C/325°F. Brush a round 22cm (base measurement) cake pan with melted butter. Line base and side with non-stick baking paper. Place butter, chocolate, sugar, water, golden syrup and vanilla essence in a heavy-based saucepan. Another option is to do this part in the microwave see note below.


Stir over medium-low heat with a wooden spoon for 5 mins or until chocolate melts and mixture is smooth.


Set aside for 20 mins to cool.


Add eggs, 1 at a time, beating well after each addition. Sift combined flours over chocolate mixture and stir with a wooden spoon until well combined. Pour mixture into greased and lined pan and bake in preheated oven for 50-60 mins or until a skewer comes out almost clean. Stand cake for 20 mins before turning onto a wire rack to cool. Dust with icing sugar or mix up some caramel icing.


Caramel Mud Cake Icing


½ cup brown sugar
2 tablespoons thickened cream
60 g butter, chopped
1½ cups icing sugar
¼ cup white chocolate buttons

Place brown sugar, cream, butter and chocolate buttons in a saucepan and heat until butter and chocolate have melted. Remove from heat and gradually stir in the sifted icing sugar to a spreadable consistency. Spread icing quickly over the cooled caramel mud cake. Melt a few white chocolate buttons and pipe some decoration onto the cake for a finishing touch.


Note: Microwave tip: Place butter, chocolate, sugar, water, golden syrup and vanilla essence in a heatproof microwave-safe bowl. Heat, uncovered, on High stirring with a wooden spoon, for 3-4 mins until chocolate melts. Remember to adjust the cooking time to less if you are using a smaller tin + muffin tin.