Friday, November 27, 2009

Caramel Mud Cake with Caramel Icing

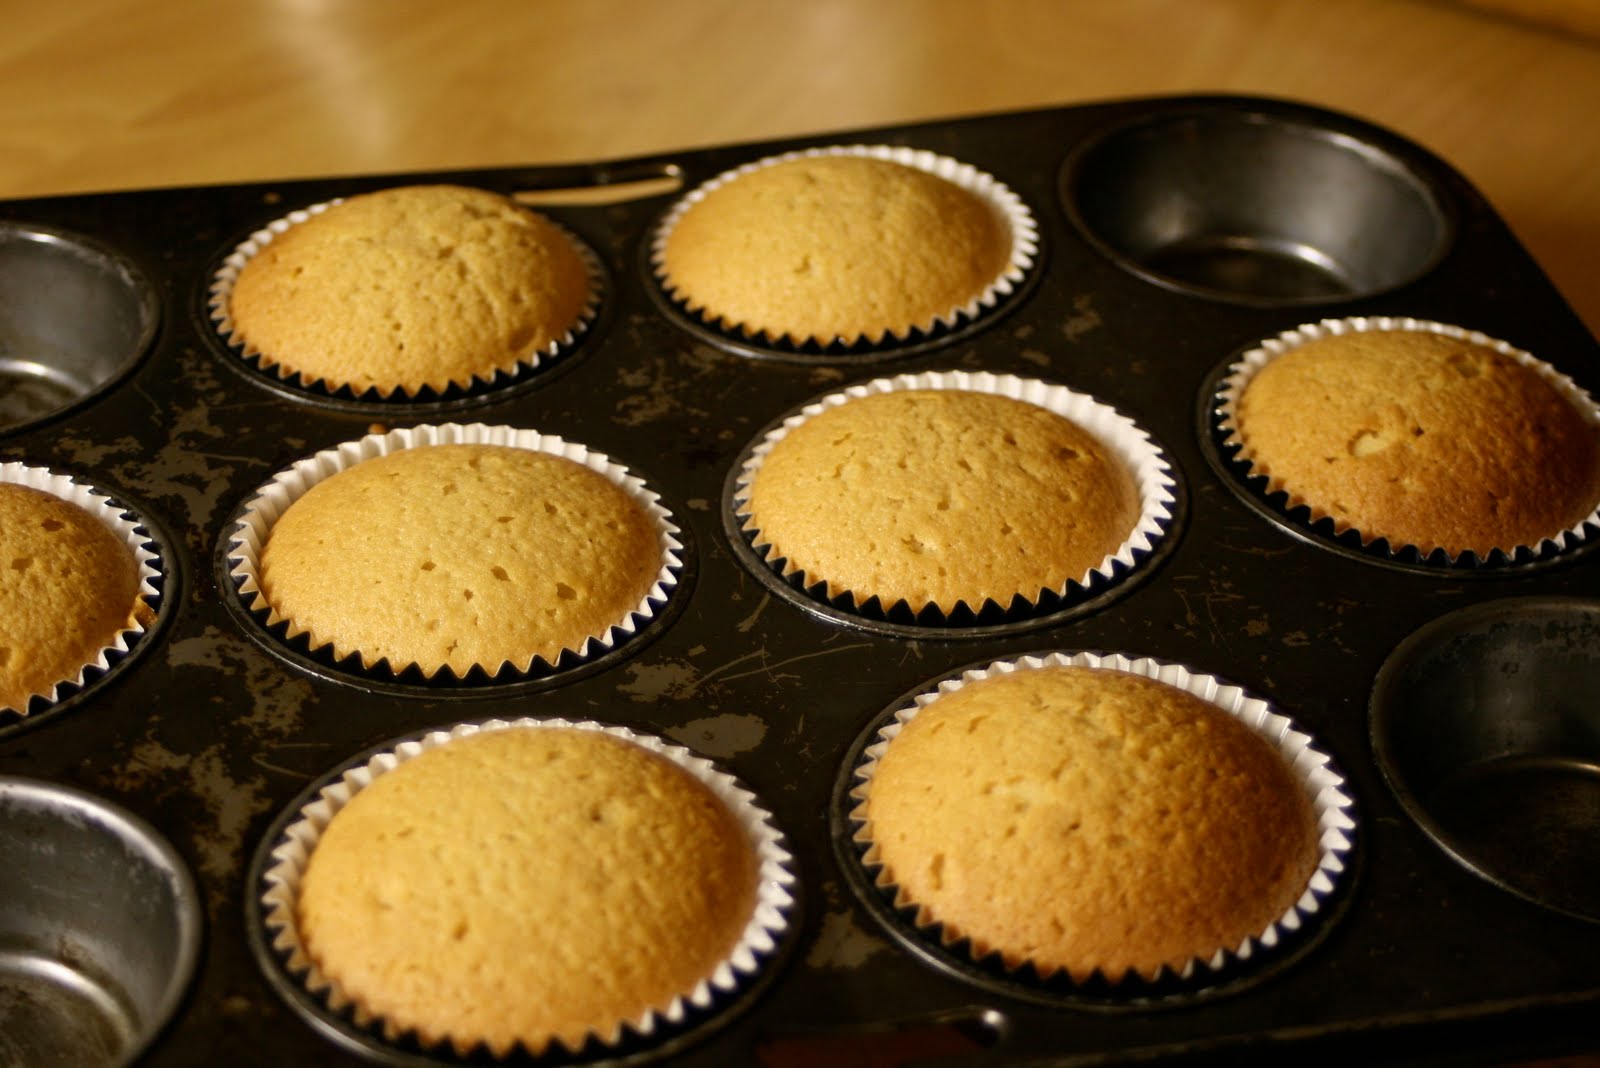
It was my friend Yvonne's birthday last week. She and I both have 3 boys of the same age, who all started pre-school together and have been going to play group together too. So what do you get a super mum for her birthday....well, I never know...so I bake. I baked a heart shaped caramel mud cake with caramel icing and decorated with piped white chocolate flowers. I had some mixture left over so I also made some mud cup cakes too! It was so easy, you just need to allow for a bit of time for the slow baking and the cooling down of the cake before icing. Enjoy!

Caramel mud cake

Melted butter, to grease
200g butter, cubed
200g white chocolate, chopped
200g (1 cup, firmly packed) dark brown sugar
180ml (3/4 cup) hot water
1 tbs golden syrup
2 tsp vanilla essence
2 eggs, at room temperature
150g (1 cup) plain flour
150g (1 cup) self-raising flour (or plain flour with 2 tsp baking powder)
Icing sugar, to dust (optional or see caramel icing recipe below)

Preheat oven to 160°C/325°F. Brush a round 22cm (base measurement) cake pan with melted butter. Line base and side with non-stick baking paper. Place butter, chocolate, sugar, water, golden syrup and vanilla essence in a heavy-based saucepan. Another option is to do this part in the microwave see note below.


Stir over medium-low heat with a wooden spoon for 5 mins or until chocolate melts and mixture is smooth.


Set aside for 20 mins to cool.


Add eggs, 1 at a time, beating well after each addition. Sift combined flours over chocolate mixture and stir with a wooden spoon until well combined. Pour mixture into greased and lined pan and bake in preheated oven for 50-60 mins or until a skewer comes out almost clean. Stand cake for 20 mins before turning onto a wire rack to cool. Dust with icing sugar or mix up some caramel icing.


Caramel Mud Cake Icing


½ cup brown sugar
2 tablespoons thickened cream
60 g butter, chopped
1½ cups icing sugar
¼ cup white chocolate buttons

Place brown sugar, cream, butter and chocolate buttons in a saucepan and heat until butter and chocolate have melted. Remove from heat and gradually stir in the sifted icing sugar to a spreadable consistency. Spread icing quickly over the cooled caramel mud cake. Melt a few white chocolate buttons and pipe some decoration onto the cake for a finishing touch.


Note: Microwave tip: Place butter, chocolate, sugar, water, golden syrup and vanilla essence in a heatproof microwave-safe bowl. Heat, uncovered, on High stirring with a wooden spoon, for 3-4 mins until chocolate melts. Remember to adjust the cooking time to less if you are using a smaller tin + muffin tin.


Sunday, November 22, 2009

Jelly oranges

Kids love jelly and these bite sized jelly boats, not a drop is wasted. These are such a fun party treat for the kids. A friend, another girl who has three son's, made jelly oranges for their birthday parties every year. I finally cracked on to what a great idea they are and have started doing it for my own boys birthdays. The trick is to get thick skinned navel oranges, hopefully with a small navel so the jelly liquid doesn't leak out before it sets. Thick skinned because you don't want to rip or cut the skin while trying to de-orange the orange peel. You'll see what I mean.


Jelly oranges

4-5 oranges
2 packets of jelly crystals
boiling water and cold water for mixing with the jelly crystals

Cut oranges in half from where the stalk was down to the navel, otherwise the jelly mix will leak out of the navel. Then, with a small sharp knife, edge around the orange and the peel to help lift the orange segments out. Don't poke the knife in too far or you'll make a hole in the peel and the jelly will leak out of it. I lost a few orange halves that way. Use your fingers to pry the orange away from the peel.


Scrape any excess orange off the peel as the juice may affect the setting of the jelly. Rinse and pat dry. Set the orange shells on a tray making sure all are even, tuck a little paper towel under to ensure no wobbles. Save the oranges segments for afternoon tea.


Mix up your packets of jelly as per the instructions on the box. Pour cooled jelly into the orange halves and set in the fridge. Allow a few hours.


When ready to serve slice the oranges into segments and serve.


It would be fun to pull these out at half time at a soccer game, give the kids a bit of a surprise and a boost.

Monday, November 9, 2009

Roasted garlic pumpkin


I just love pumpkin, particularly the Jap pumpkin (or the Kent variety) it's rich yellow, orange colour, and the flavour is so sweet. If you want something extra to liven up your salads or just as a side dish this is the most delicious intense flavour. As it bakes in the oven the outside of the pumpkin becomes crispy but inside it is sweet and as smooth as silk.

Roasted garlic pumpkin

1/4 Jap pumpkin (or Kentish)
1-2 cloves garlic
extra virgin olive oil
sea salt

Chop up chunks of pumpkin 2 cm diameter with or without the skin. I chopped off the skin. Coat in olive oil and sprinkle with sea salt and 1 crushed garlic clove. I used one big fat clove. Toss together and then spread over flat baking tray lined with baking paper.


Cook in hot oven 210° C/420° F approx 30 mins or until pumpkin darkens, crisps and reduces in size and caramalises, but is not burnt.


It is so sweet and delicious. Eat on it’s own, throw over a green salad, top a pizza with it or just as a side dish.